How to make a 3D printed cake topper
Want a custom cake topper for a birthday, a wedding or a First Communion? This tutorial shows you how to make one without drawing anything: ChatGPT creates the design with your text, Cookie Cutter Architect turns it into 3D, and after about 40 minutes of printing it’s ready to go on the cake.
In this tutorial
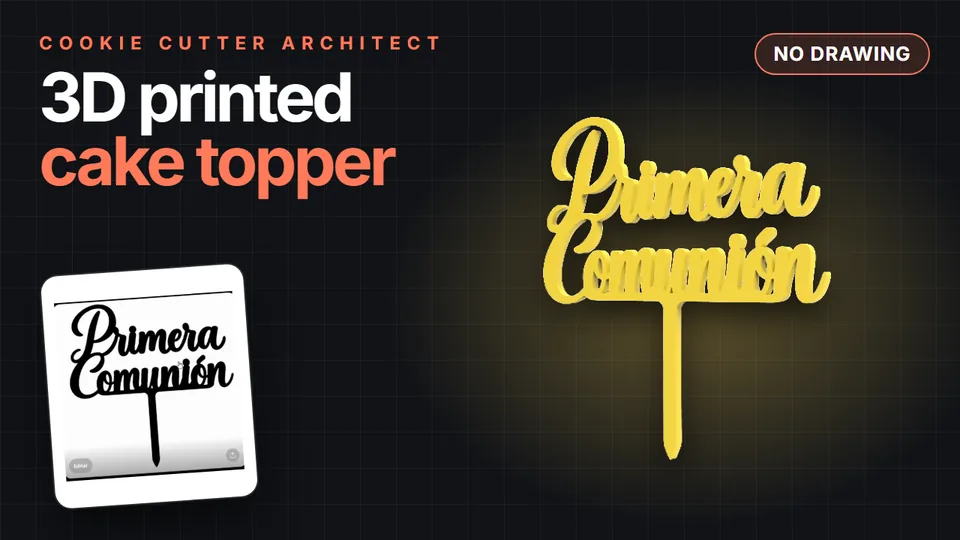 Video tutorial · 2 minutes
Watch the whole process on video
A First Communion cake topper: ChatGPT creates the design, Cookie Cutter Architect turns it into 3D and PrusaSlicer gets it ready to print.
Watch it on YouTube
What you need
- A 3D printerA filament (FDM) printer. Any common model works.
- PLA filamentIn the party’s colors, ideally food-safe.
- ChatGPTOr another AI tool that creates images, to make the design.
- Two programsCookie Cutter Architect to turn the design into 3D, and a slicer like PrusaSlicer to get it ready for your printer.
Ask ChatGPT for the design
Open ChatGPT (or another AI tool that creates images) and paste this prompt. It’s the one we used in the video: replace “First Communion” with your own text.
Make me a black design on a white background of a cake topper that says First Communion, in delicate lettering, on 2 lines, with a stick to push into the cake. Both lines must be connected: it's for 3D printing and nothing can be left floating.
The key part is the end: everything has to be connected, the letters to each other and to the stick. A loose letter falls off when you take the piece off the printer. In about 20 seconds you get the design back in black on a white background: save it to your computer.
Open the image in the program
Drag the design into Cookie Cutter Architect or use Open image. The program picks up the black areas of the design and shows you the piece in 3D right away.
Choose Stamp with no plate
Since a topper doesn’t cut dough, choose the Stamp piece type and set these values:
| Setting | Value | What it does |
|---|---|---|
| Plate thickness | 0 mm | No backing plate: only the letters and the stick remain. |
| Relief height | 3 mm (about 1/8 in) | How thick the topper will be. |
| Cutting size | 120 mm (about 4.7 in) | The topper’s size along its longest side. |
The app itself tells you under the plate thickness: with 0, only the raised lines of the drawing remain, perfect for a topper.
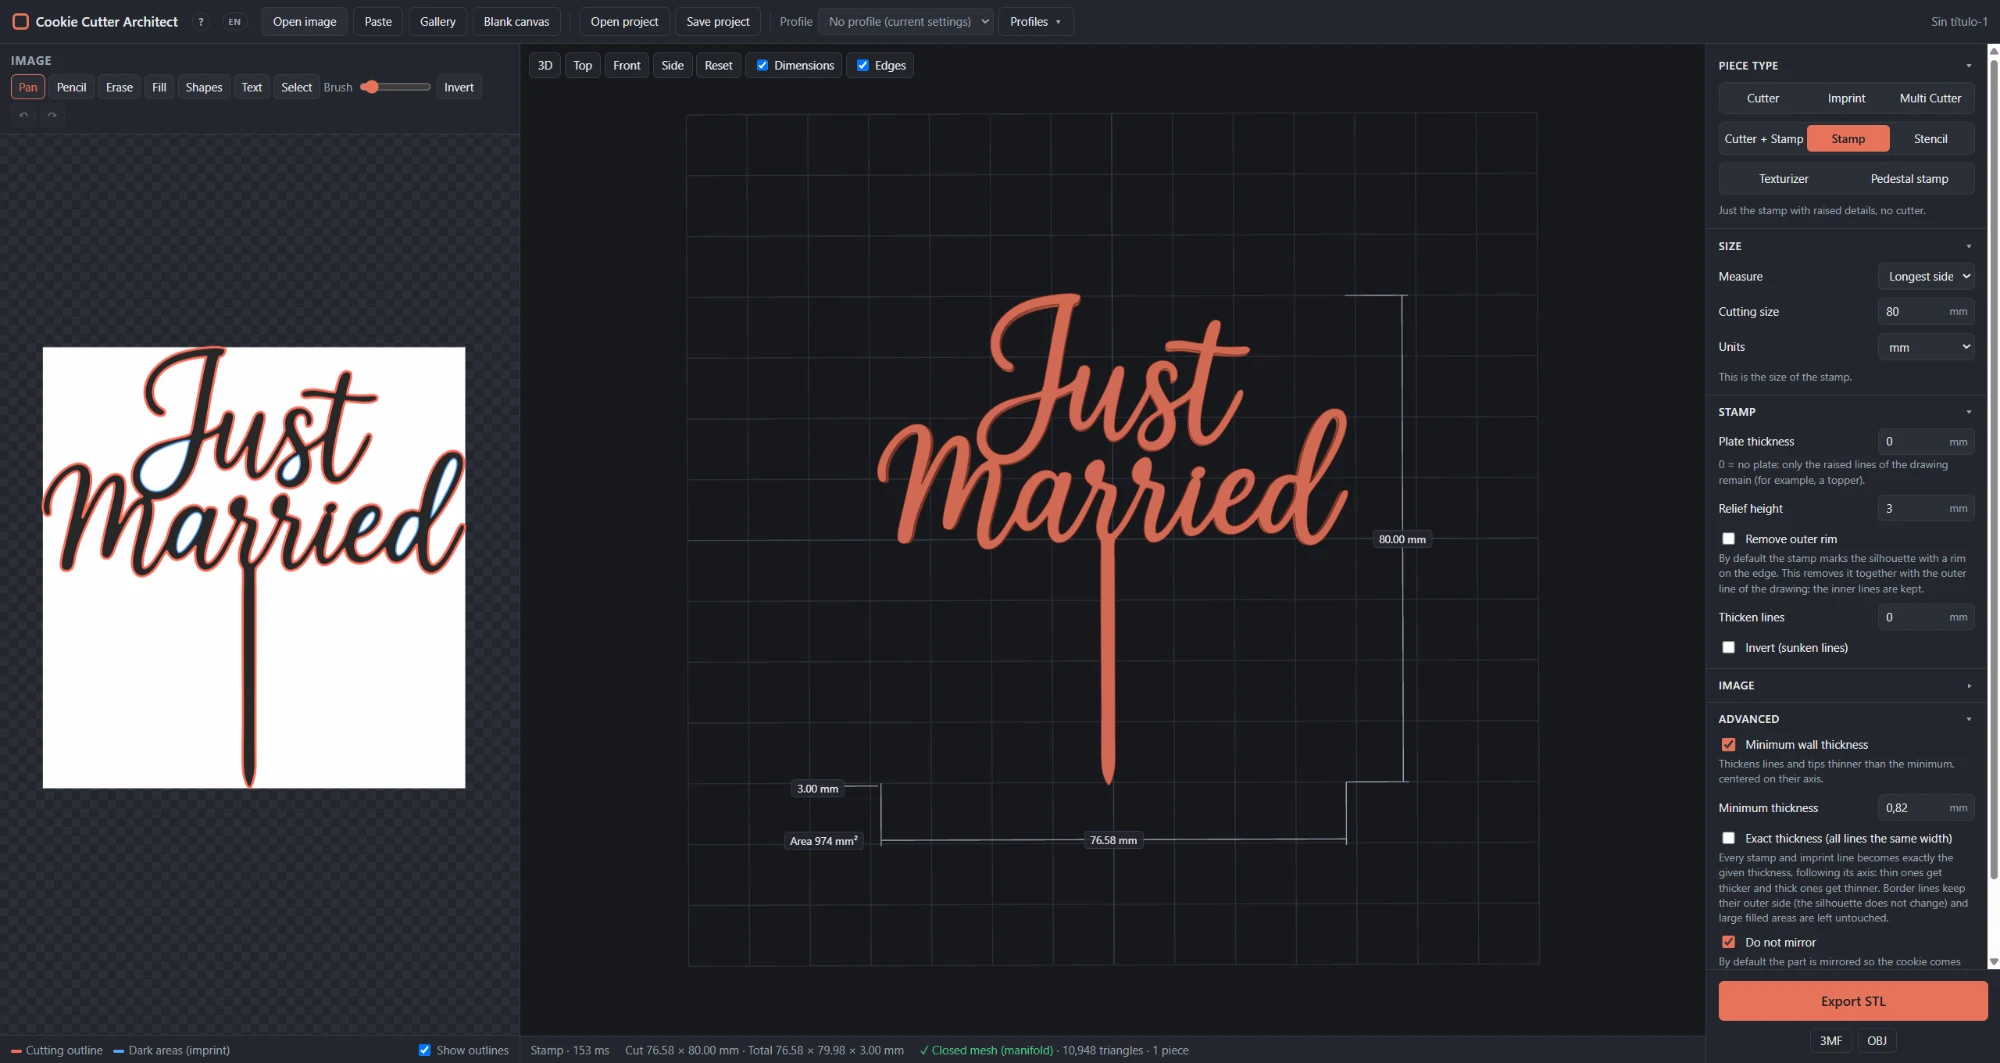
Check the model
Rotate the piece and look at the details at the bottom of the screen. In the example: 120 mm, 3 mm thick, a single piece and a closed mesh, ready to export.
If it says more than one piece, a letter came out loose: connect it with the editor’s pencil or ask the AI for another version.
Export and print
Click Export STL and open the file in your slicer (we used PrusaSlicer in the video; Bambu Studio, OrcaSlicer or Cura work too).
- Lying flat on the bed, with no supports.
- 100% infill, so it’s nice and sturdy.
If the letters look backwards, don’t worry: it’s a flat piece. When you take it off the printer, flip it over and it reads perfectly.
In the example, PrusaSlicer estimated 40 minutes of printing and 12.7 g of filament.
Try it free: you can download the program and do all these steps without paying. Exporting the file requires a subscription.
Tips for a good result
- Keep it connected: the dots on the i’s and accent marks often come out loose. Check them in the design before printing.
- Bolder lettering for small toppers: if you make it smaller, ask for thicker lettering, because very thin parts are fragile.
- A long, even stick: it goes into the cake straight and won’t snap when you push it in.
- More ideas: names and ages for birthdays, “Happy Birthday,” “Just Married,” baby showers and baptisms. Just change the text in the prompt.
- Hygiene: the stick goes into the cake. Use food-safe filament and wash the topper before using it.
Do you bake cookies too? See the complete cookie cutter tutorial.
Frequently asked questions
What is a cake topper?
It’s the decoration that sits on top of the cake: a name, an age or a phrase, on a stick. A 3D printed one is rigid and light, and you can keep it as a keepsake.
Do I need to know how to draw or model in 3D?
No. ChatGPT creates the design with your text and the program turns it into 3D. You just choose the piece type and enter three values.
Why use the Stamp piece type and not Cutter?
Because a topper doesn’t cut dough. A Stamp with the plate thickness at 0 leaves only the raised letters, which is exactly the shape of the topper.
Why do the letters look backwards in the slicer?
Because it’s a flat piece and prints the same either way up. When you take it off the printer, flip it over and it reads correctly.
How long does it take to print?
The topper in the video, 120 mm wide and 3 mm thick, takes about 40 minutes to print and uses under 13 g of filament, according to PrusaSlicer.
Can I use my own design instead of ChatGPT?
Yes. Any image with the design in black on a white background works, whether it’s made with another AI tool or a design app, and so does an SVG file.
Can I sell the toppers?
Yes, as long as the design is yours. Characters and brand logos need the owner’s permission.
Make your own cake topper
Download Cookie Cutter Architect for free, open your design and see the topper in 3D in seconds.