How to make cookie cutters with a 3D printer
With a 3D printer you can make custom cookie cutters in any shape: your bakery’s logo, a birthday character or a hand-drawn doodle. This guide takes you from an image to a cookie cutter ready to use, with the sizes that work and how to use it safely with dough.
In this guide
What you need
- A 3D printerA filament (FDM) printer. Any common model works.
- FilamentPLA or PETG, ideally food-contact safe.
- An imageA drawing, a photo, a logo or an SVG file.
- A cookie cutter makerA program that turns the image into a 3D model. This guide uses Cookie Cutter Architect.
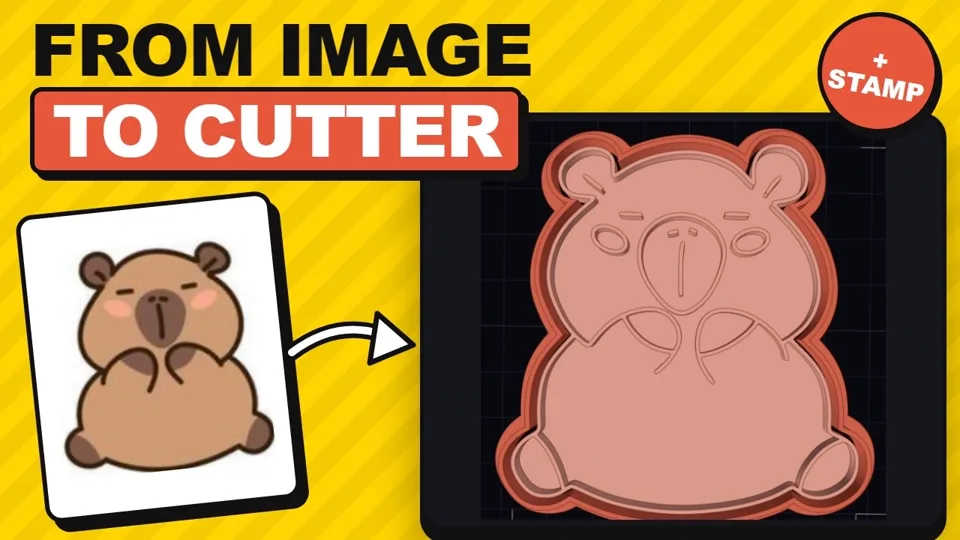 Video · 3 minutes
Rather watch it? The whole process on video
From an image found online to a cookie cutter with a matching stamp: the drawing, the cutter in the program and the print, start to finish.
Video · 3 minutes
Rather watch it? The whole process on video
From an image found online to a cookie cutter with a matching stamp: the drawing, the cutter in the program and the print, start to finish.
Pick the image
The program traces the outline of the dark areas, so the best starting point is a drawing with dark lines on a light background. PNG, JPG, WebP and SVG all work.
- Closed outline: the outer silhouette must be complete, with no gaps, so the cutter comes out as one piece.
- Keep details simple: on a 3-inch (8 cm) cookie, a very thin line or two lines very close together won’t show. Less detail usually looks better.
- Photos: they work when the subject stands out clearly from the background. If not, trace it first (by hand or in a drawing app).
Tip: if you sell the cookies, use your own images or ones you have permission for. Characters and brand logos are protected.
Open it in the cookie cutter maker
In Cookie Cutter Architect, click Open image, drag the file onto the window or paste it with Ctrl+V. The program finds the outline instantly and shows you the cookie cutter in 3D.
If the image has smudges or open lines, touch it up right there with the editor: pencil, eraser, fill, shapes and text with the fonts on your PC. Every image you open is saved in the gallery so you can reuse it with one click.
Choose the piece type
Depending on what you want on the cookie:
- Cutter: cuts the silhouette only.
- Imprint cutter: cuts the silhouette and presses the drawing’s details into the dough, in one piece.
- Cutter + Stamp: two pieces: the outline cutter and a separate stamp that presses the details. The most popular format for decorated cookies.
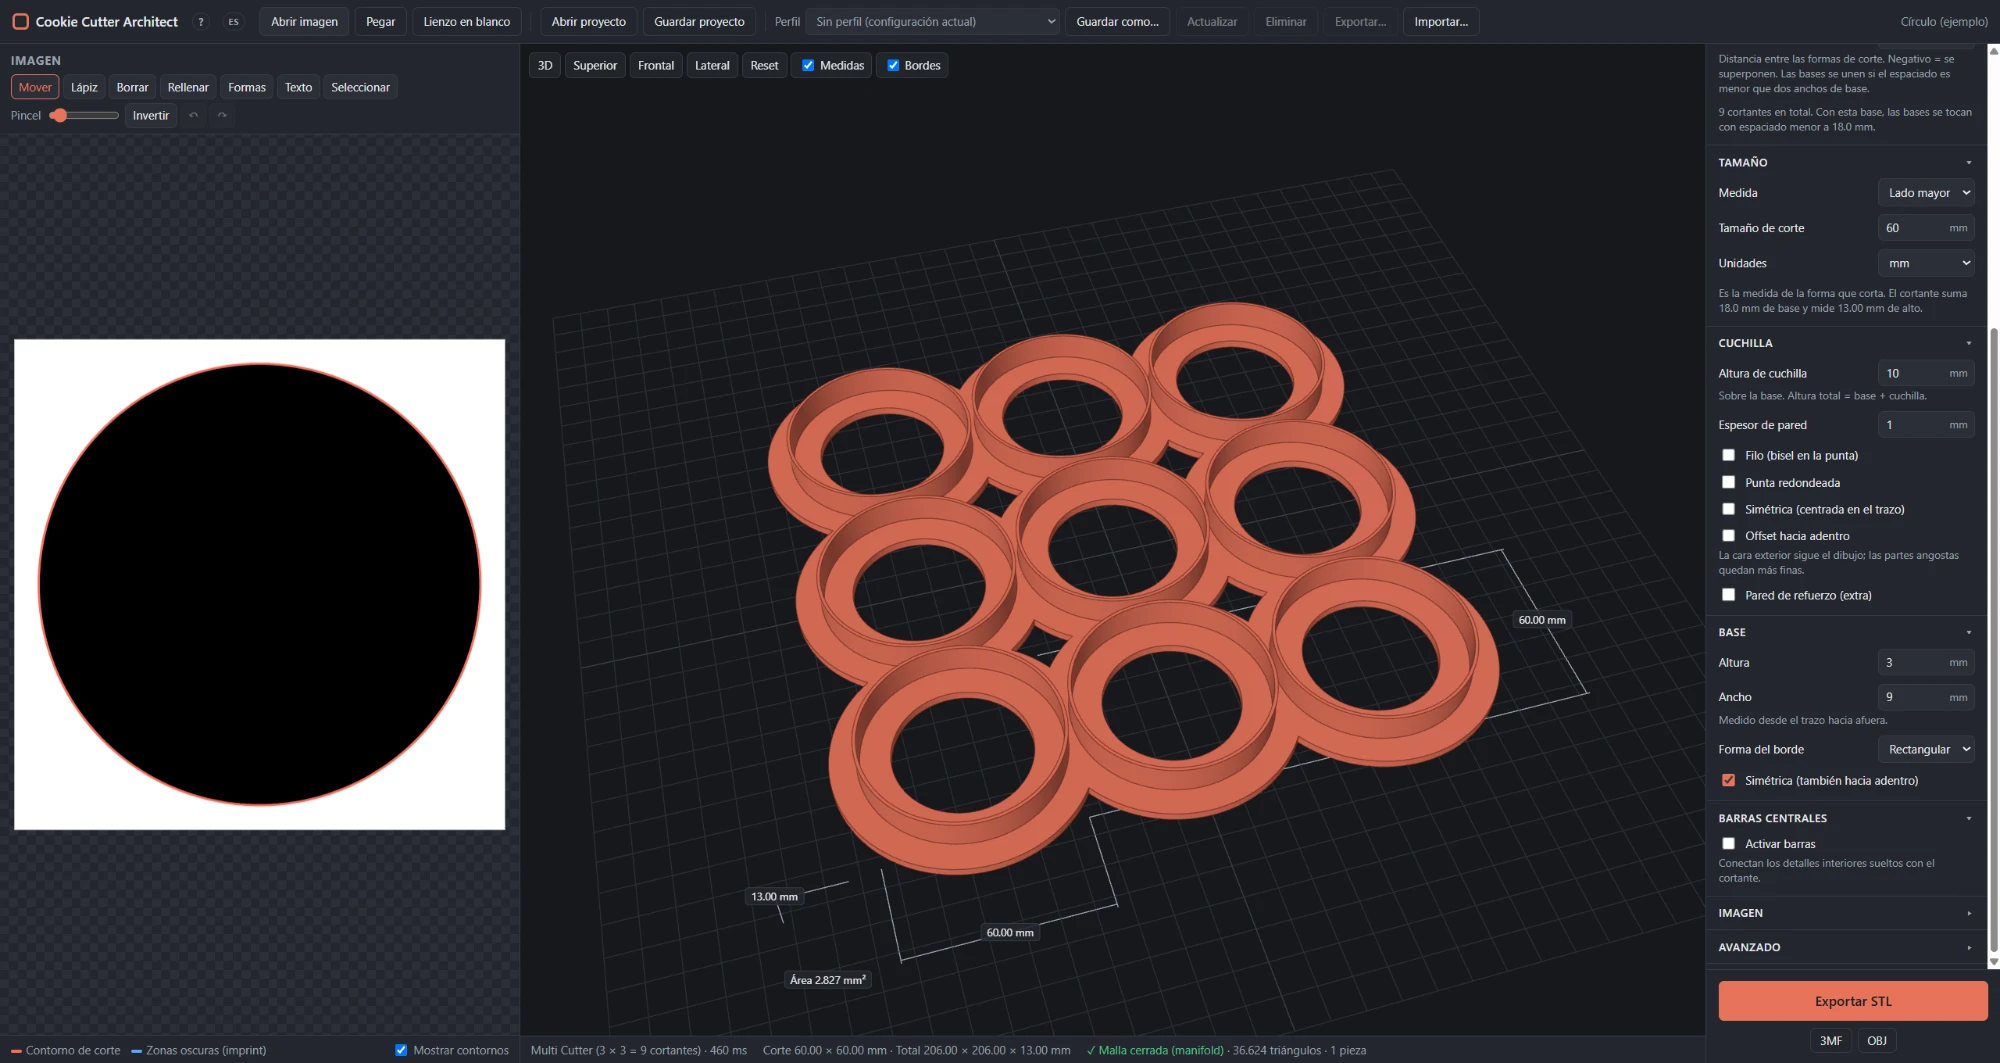
- Multi Cutter: several copies on one plate to cut a whole batch at once.
There are also pedestal stamps, stencils and texture plates for other uses.
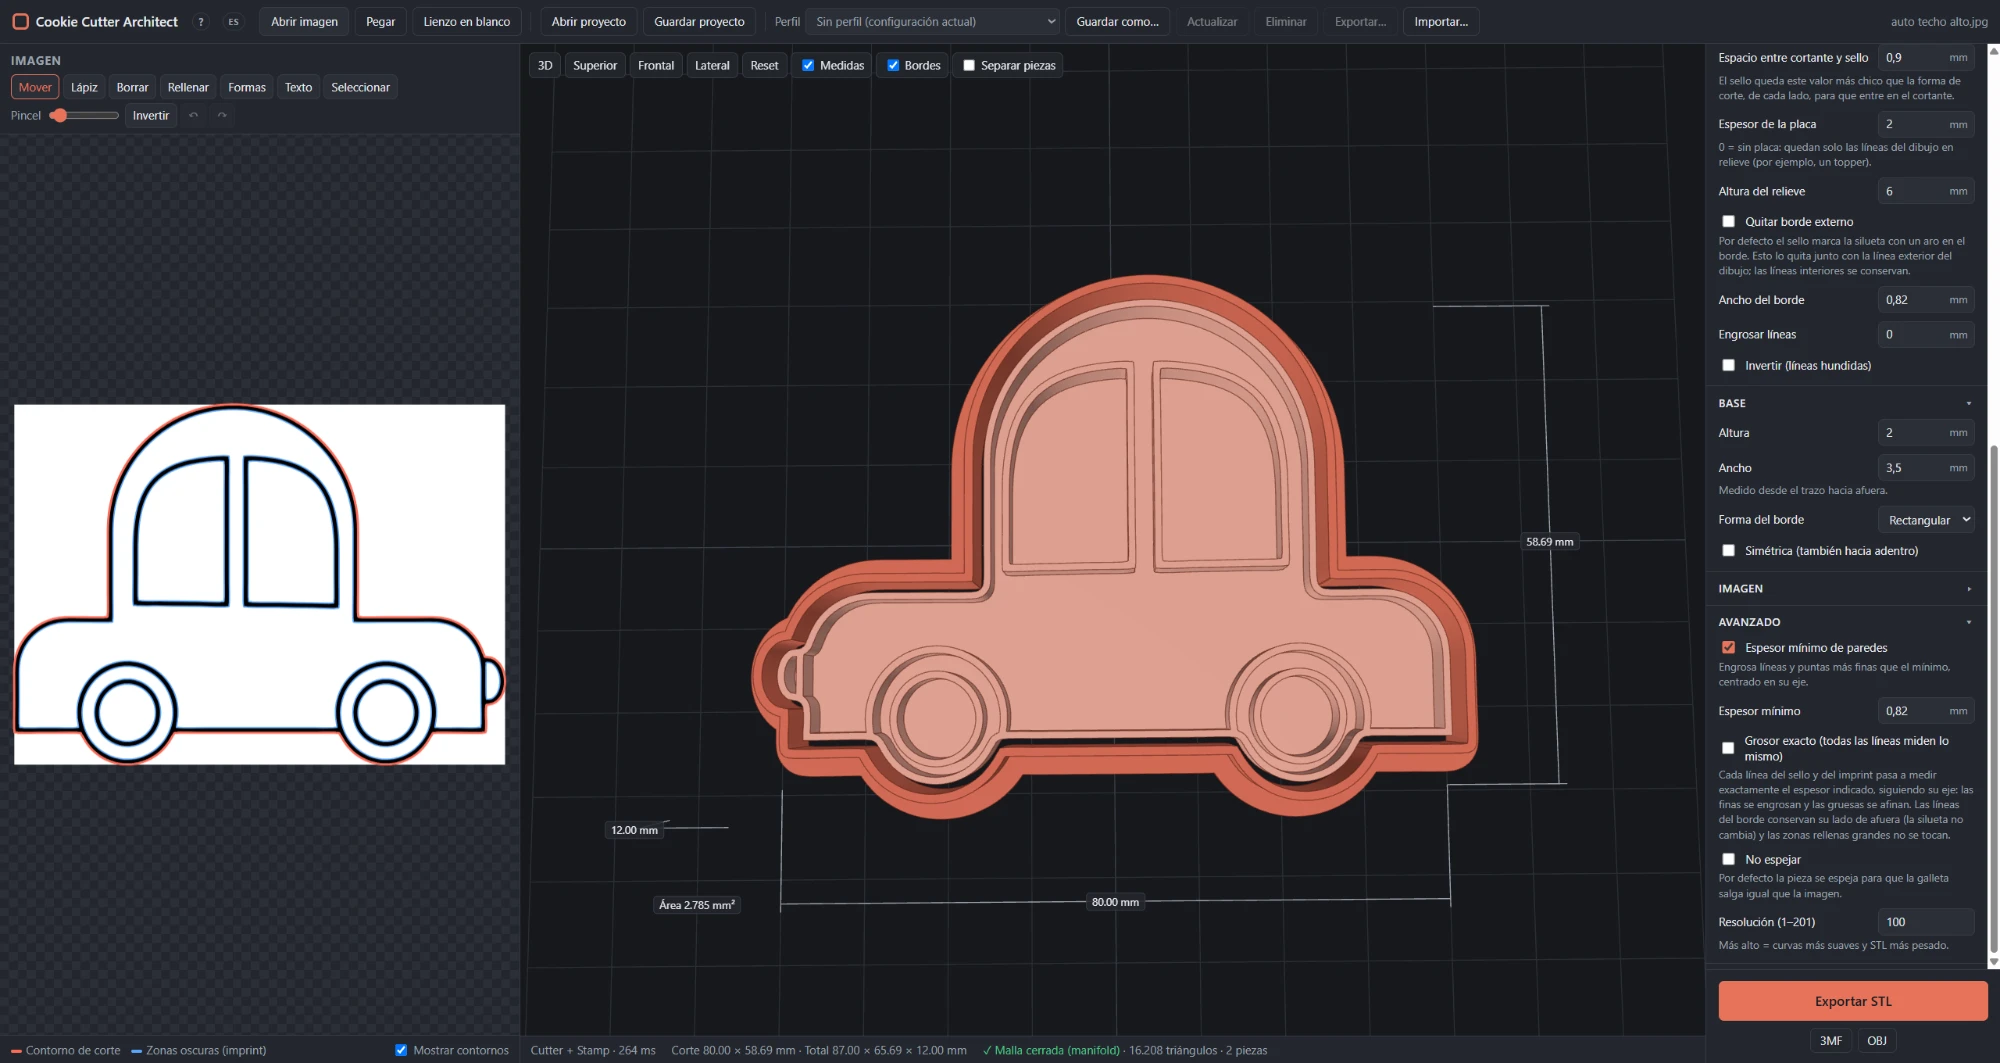
Set the size
Enter the size you want the cookie to be, for example 3 inches (8 cm) on the longest side. The program adds the base and the wall outside that size, like a professional mold, so the cookie comes out at exactly the size you chose.
Typical sizes: 2.5 to 4 inches (6 to 10 cm) for individual cookies. Below 2 inches (5 cm), inner details are harder to press.
Adjust the blade
The built-in profiles already come with tested values. If you want to fine-tune them, these are the settings that matter most:
| Setting | Typical value | What it does |
|---|---|---|
| Blade height | 10 to 15 mm | How deep it goes into the dough. Taller for thick dough. |
| Wall thickness | 0.8 to 1.2 mm | The cutting wall: 2 or 3 lines with a 0.4 mm nozzle. |
| Base | 2 or 3 mm | The wide rim you press on; it makes the cutter rigid. |
Check it in 3D and export
Rotate the model, look at the top and side views and check the measurements. At the bottom, the program confirms the mesh is closed (ready to print) and warns you if any detail is left floating.
When it looks right, click Export: STL, 3MF or OBJ. With Cutter + Stamp you can export the pieces assembled or separated. You can drag the file straight into your slicer.
Try it free: you can download the program and do everything above without paying. Exporting the file requires a subscription.
Print the cutter
Open the file in your slicer (PrusaSlicer, Bambu Studio, OrcaSlicer or Cura). As a starting point:
- Standing on its base, just as it comes out of the program, with no supports.
- Layer height of 0.3 mm.
- 2 perimeters and 50% infill.
- Temperature and speed as recommended for your filament.
Using it with dough
Whether a printed cutter is food-safe depends on the material, the printer and how you clean it. Printed parts can trap residue between layers, so:
- Use food-contact safe filament.
- Wash the cutter with warm water and dish soap before and after use. Avoid the dishwasher: heat warps PLA.
- If in doubt, put plastic wrap between the cutter and the dough.
- Replace it when it wears out or gets scratched.
Frequently asked questions
What is the best cookie cutter maker software?
You need a program that turns an image into a 3D model. Cookie Cutter Architect is a cookie cutter maker built for that: open the image, choose the size and export the STL. It runs on Windows 10 and 11, and you can try it for free.
How thick should the cutter wall be?
Between 0.8 and 1.2 mm, which is 2 or 3 lines with a 0.4 mm nozzle. Thinner cuts better but is more fragile; thicker is sturdier but leaves a less clean cut.
What material should I use to print cookie cutters?
PLA or PETG. PLA is the easiest to print; PETG handles heat and knocks better. Either way, choose a food-contact safe filament and wash the part well.
Can I make a cookie cutter with a stamp?
Yes. With the “Cutter + Stamp” piece type, the program makes the outline cutter and a separate stamp that presses the drawing’s details, with just the right clearance to fit inside.
What if I don’t have a 3D printer?
You can still design the cutter and send the STL file to a local 3D printing service.
Make your first cookie cutter today
Download Cookie Cutter Architect for free, open your image and see the cutter in 3D in seconds.